By Dr Sarah Lantz
There’s an old French adage about cooking: ‘What does it need? Butter, butter, butter!’ We agree. Everything tastes better with butter. One of my favourite pleasures in the world is a thick slap of cultured butter on fresh bread. Sigh. Europeans have been producing cultured butter since at least Roman times. In its pre-industrial form, it was crafted on small farms using raw cream collected over several days of milking. The cream had soured by the time it reached the churn, producing a butter with a definitive lactic aroma and with a tangy yet creamy flavour. Nowadays, cultured butter is usually butter made out of cream and starter culture bacteria, left to ferment for a minimum of 24 hours, souring the cream, then churned into butter to create a rich, clean flavour and finish.
What’s so great about it? Cultured butter contains beautiful ample fat. At a minimum, cultured butter has a fat content of around 80 per cent, but the higher the better. This makes it great for cooking, as the butter will tolerate higher temperatures before smoking. This also allows for a more delicate crumb in pastry making. Cultured butter also boasts a full and rich flavour. It is often said to be more balanced in flavour than regular butter due to the acidity level from the fermentation process which cuts through the rich creaminess. And you can’t go past the bacteria content with plenty of good rich gut loving microbes.
Making cultured butter at home is easy and rewarding and will make you feel like Laura Ingles from Little House on the Prairie – I promise. While most butter recipes call for simply agitating cream until it turns into butter, culturing the cream first yields a tastier end product. Regardless of which culturing method you choose below, you will make a detectible cultured butter which is well worth the effort – trust me.
My general rule of thumb with culturing butter is to keep things simple. If you do a web search for ‘how to make cultured butter’, you will see so many complicated instructions that include ‘butter cultures’, temperature control, squeezing with endless layers of cheesecloth and so on. Seeing this makes my right eye twitch – it seems like too much work and I instantly lose interest. Really, all it takes to make cultured butter is to quickly ferment the cream, chill it, mix it, strain and wash it in a sieve and squeeze out the moisture. Simple!
Ingredients
- Get hold of good-quality cream. This is the most important step of all.
Method:
Method (for culturing cream)
There are a few different methods for culturing the cream.
1. Raw cream
If using raw cream, it’s not necessary to inoculate it with additional cultures. You can simply leave your cream on the bench at room temperature for 12–48 hours or until the cream sours, then refrigerate overnight before churning into butter.
2. Milk kefir culture
If you are using pasteurised cream, which the majority of us have easier access to, you definitely want to use a culture to begin fermentation. You do this by adding 1 tablespoon of milk kefir grains or 1 packet powdered starter culture to 1 – 4 cups of cream. Culture for 12–24 hours, then strain off the kefir grains from the cream. Refrigerate overnight before agitating the cream to make butter.
Method (for making butter)
To start, remove the cream from the refrigerator. There are several options to agitate the butter.
1. Using a stand mixer
Place the cold cream in a bowl and turn the mixer on medium. Within a few minutes, the cream will have thickened into whipped cream; then, increase mixer speed. Keep mixing on medium speed until you notice a grainy texture starting to appear. At this point, turn the mixer on low because the cream is about to separate and clump together into butter grains and liquid – buttermilk, or the quintessential curds and whey.
2. Agitating by hand (or butter churn)
Pour cold cream into a large jar with a tight lid. Shake the cream vigorously (this is a good job for kids or your partner and requires some serious elbow grease) until small balls of butter form. Keep shaking until the mixture separates even further and clumps together into butter grains and liquid – buttermilk.
Once separated, strain through a large, fine strainer and into a bowl. The liquid is buttermilk. Put this aside for other uses. It contains a lot of live cultures and is delicious and fabulous for baking or for drinking straight up or in smoothies.
Rinse the butter with filtered water or until water is no longer milky. You can use a spoon to help press out any remaining buttermilk with a spoon. You won’t be able to get every bit of white liquid out of it, but give it a good go. When the water runs clear, the butter should be free of buttermilk. At this point, you can add salt to taste if you desire.
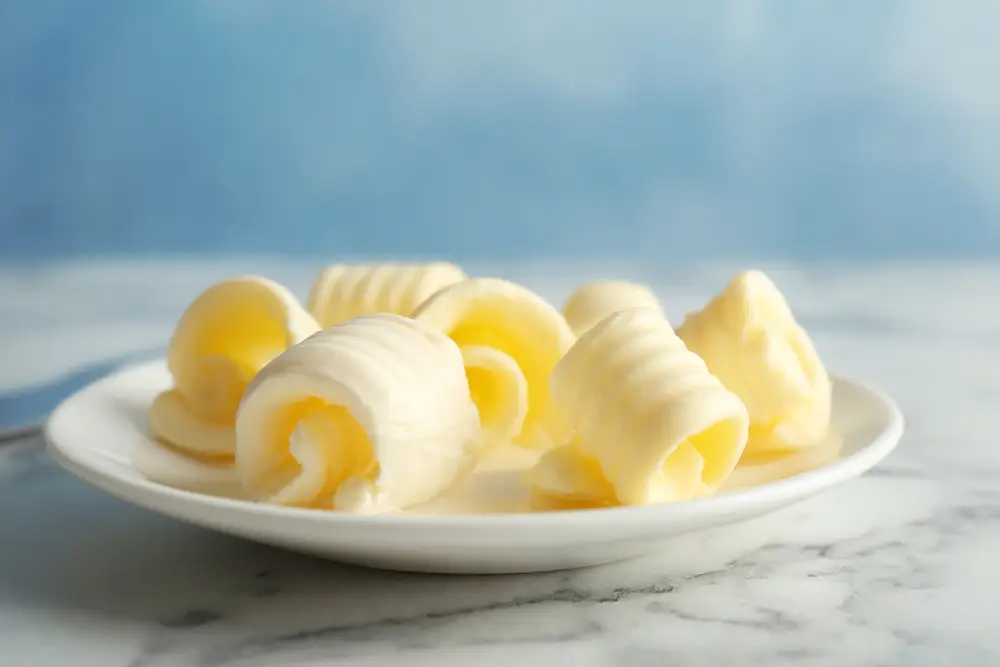
Transfer butter to parchment paper and spread it out using a spatula. Fold it over itself and spread to squeeze out any remaining liquid, then pour off the liquid. Repeat a few times. Finally, wrap butter in wax paper and store in the fridge or freezer.
The colour of your butter will change with the seasons. It is at its brightest yellow in the spring, when the grass grows fast, and during rainy stretches of weather.
Suggested ways of use
We use cultured butter on just about everything as it adds flavour and fullness to just about every dish you can make. Try it in the morning to make a bullet proof coffee or tea, generously slather on a thick piece of sourdough bread, baked in moreish scones, melted over a freshly cooked steak or in all its cultured glory on baked potatoes and garlic bread. Cultured butter makes everything better.
If you want make your cultured butter in ghee, go to the next step.
Cultured Ghee
You can take your cultured butter one step further by making cultured ghee. Ghee is simply pure butter fat, also called butter oil, made by clarifying butter. Clarification is simply done by slowly heating the butter to melting point and skimming off the fat oil, leaving behind the milk solids and proteins such as casein and lactose. This creates a relatively shelf-stable fat that keeps well in warm climates, which is why it became a preferred cooking fat in tropical areas. This is also why it’s considered to be allergen-free, but small amounts of trace proteins always remain.
Ghee has been used across the globe but seems to originate from India, where it is acclaimed in Ayurvedic traditions. Ghee is considered cleansing, toning, nourishing and healing for the body. There is a lot of evidence to support the truth behind the superfood qualities of ghee.
Every cooking fat, be it butter, lard, or oil, has a smoke point: a temperature at which it stops shimmering and starts sending out some serious smoke signals. Learning how to interpret those signals is a crucial element of any good cook’s vocabulary. Ghee is an excellent choice for cooking because of its high smoke point, which is around 250ºC, which is much higher than the smoke point of butter and coconut oil at around 175ºC.
Method
To make cultured ghee, simply place some of your cultured butter in a small pan over low heat. Let the butter melt; white milk solids will float to the top (or sometimes sink to the bottom). Around the 10-minute mark, the mixture will start making the same sounds as your stomach when you are hungry. This is the water evaporating from the butter – keep a close eye on it. You should hear this noise for about five minutes, and then the ghee will be done.
Skim the whey off the top (or bottom) and save it for mashed potatoes, adding it to the potatoes as you mash (it’s delicious and creamy this way). Instead of skimming, you can pour the liquid through cheesecloth into a glass jar and seal tight with a lid. You can then store this ghee on the counter for 6 months or you can store in your refrigerator for 9 months. Trust me though, it’s not going to last this long – you will have eaten it all by then.
Article by:
Dr Sarah Lantz (PhD)
Buchi Brew Co. & Sacred Women’s Way
Want more recipes like this? Sign up to Bud Organic Club for free here and get them delivered straight to your inbox!